PDF Generation in Directus (Template)
How to generate PDF`s based on templates inside flows or extensions using TTA in Directus.
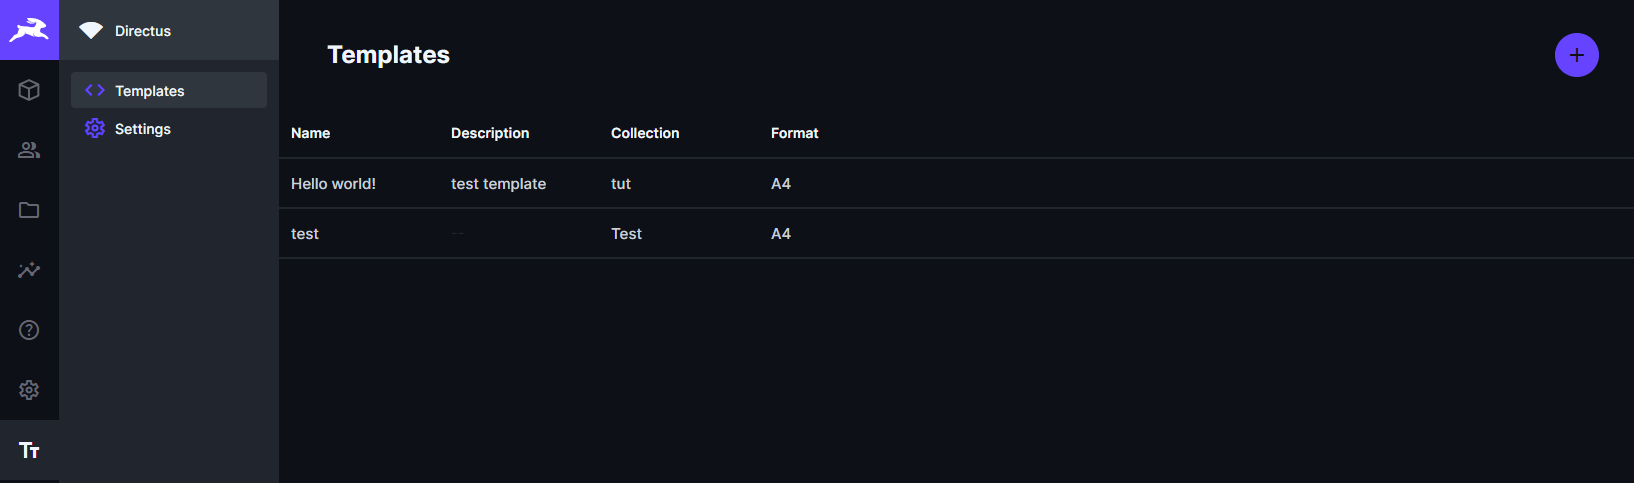
PDF template overview.
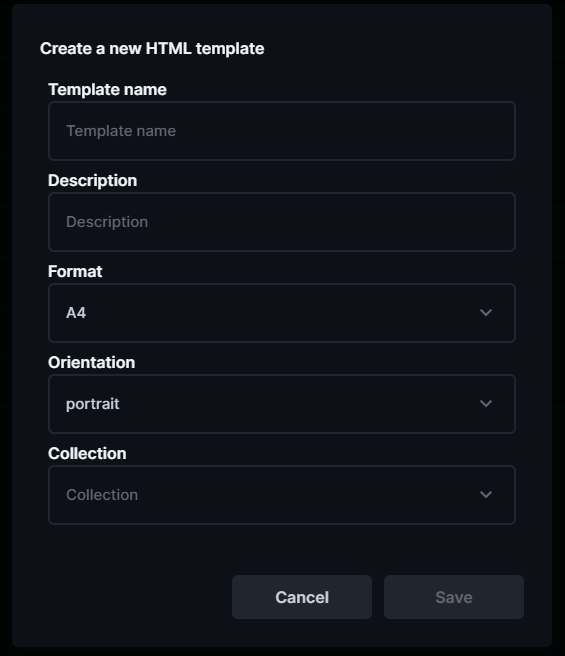
Template settings
| Option | Description |
|---|---|
| Template name | The name of the template. |
| Description | A short description of the template. |
| Format | In most usecases A4 is the best option. You can select another option if needed. |
| Orientation | Should the PDF be landscape or portrait? |

Template editor
After opening (or creating) a template, the template editor will open up.
In here you can type HTML on the left and you will see the output on the right. It allows the usage of LiquidJS for templating. This means you can use variables, loops, and conditionals. You can also use CSS to style the template.
Lets go into detail about all options.
Topbar
- {Template name} - Clicking on the name will open the template settings.
- Preview mode - Select a preview mode, this can be:
- HTML - Provides a live preview of your template's rendered HTML
- PDF (preview) - Displays the preview PDF (free but watermarked)
- PDF - final version, without watermark
- Code - preview without test input
While the HTML and Code refresh the preview instantly, the PDF preview will require a button. The watermarked version is free to generate (check your plan on the limitations). While the final version might charge you depending on your plan.
- ? - Displays a info popup about the preview mode options.
- Align - Align your html.
- Save - Saves the current template.
- Resize - Resize the width of the code/preview window.
- Close - Will close the template editor and return to the templates overview.
Code editor
There is a floating dropdown that allows you to switch between the header/body/footer. It also has an option for Test input.
Test input
You can choose between 2 options:- Fixed - This is the JSON data that will be used to generate the preview.
- Flow - This is allows you to select a Webhook flow and set the input values of that flow. The last operation of the flow will be used as the input for the template.
Header/footer properties
- date - formatted print date
- title - document title
- pageNumber - current page number
- totalPages - total pages in the document
<span class="pageNumber"/> / <span class="totalPages"/>This would show:
1 / 10Note that the header and footer currently do not support rendering images from a URL. However, you can embed images by converting them to Base64 format. Tools like Base64 Guru can help you convert your images into Base64.
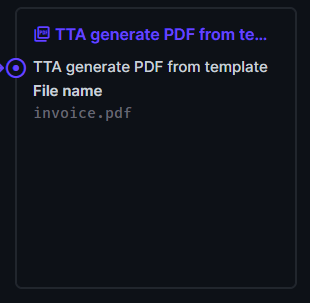
Integrating PDF generation with templates in Directus Flows
Use TTA's PDF operation to integrate PDF generation into Directus Flows. It supports generating a PDF file based on template content. The templates can be written in the TTA template editor.
Operation Settings
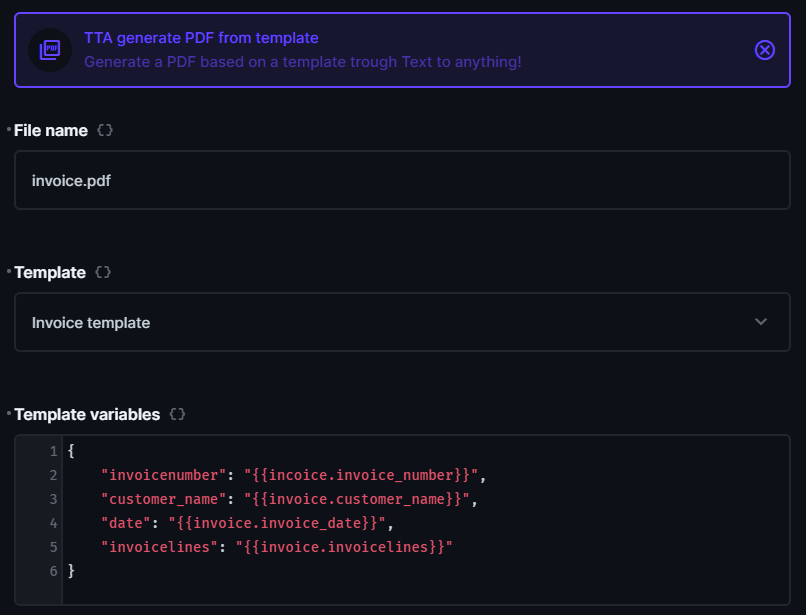
Inside of the operation you have the following options:
| Option | Description | Type |
|---|---|---|
| Target folder | The generated file will be placed in the selected folder. | |
| File name | This is the name of the file that will be generated. | string |
| Mode | Select Online for a template made inside our dashboard. Offline will use the templates inside of your Directus. | integer |
| Template | There you can select a template to render the PDF from. | Dropdown/template ID |
| Template variables | This is the JSON data that will be used to generate the PDF. | JSON object |
Output
The output of the operation is a file ID. The file will be placed on the root folder. You can use this ID to update the image with the correct folder/name ect or you can use it in any image field in Directus.
Generating barcodes in your own Directus extension
const fileID = await globalThis.TTA.generatePDFFromTemplate({
  template: templateIDHere,
  templatevariables: { variableOne: 'A', variableTwo: 'B'},
  mode: 'online',
  folder: 'UUID'
});
Inside of the operation you have the following options:
| Option | Type | Description |
|---|---|---|
| folder | UUID | The UUID of the folder where the generated PDF will be placed. |
| template | number | The ID of the template you want to use. |
| templatevariables | object | This is the JSON data that will be used to generate the PDF. |
| mode | string | This can be online (from the TTA dashboard) or offline. If none is provided, we will assume that you want to use an offline template. |
Output
The output of the operation is a file ID. The file will be placed on the root folder. You can use this ID to update the image with the correct folder/name ect or you can use it in any image field in Directus.